You picked a new build in Conyers for peace of mind, but the real protection starts with understanding your builder warranty. If something squeaks, leaks, or fails, you need to know what is covered, what is not, and how to get it fixed fast. With a clear plan, you can protect your investment and enjoy your home from day one. In this guide, you will learn how typical 1-2-10 builder warranties work, what to expect during your walk-through, local Rockdale County checks, and a practical punch-list you can use. Let’s dive in.
1-2-10 warranty basics
Most new-home builders in Conyers and Rockdale County use a layered warranty that many people call a 1-2-10. The timeframes can vary by builder, but the structure is similar. Always read your actual warranty document to confirm terms.
- Year 1 workmanship and materials: The builder repairs defects in finishes and installation that appear in the first year. This often includes paint, trim, cabinetry installation, interior doors, tile and grout workmanship, and flooring issues caused by installation.
- Year 2 systems: Major systems are covered for functional defects for the first two years. This usually includes HVAC equipment and ductwork, plumbing and drainage systems, and electrical wiring and service. Some warranties also include exterior weatherproofing problems caused by improper installation.
- Year 10 structural: Structural coverage protects against substantial defects that affect load-bearing components. This typically includes the foundation, footings, load-bearing walls, beams, and structural roof framing.
Variations you may see
Builders may use different timelines, such as 2-10 or 1-3-10, or provide a third-party administered warranty. Appliances often carry separate manufacturer warranties. Some components may have longer manufacturer coverage. Review your warranty packet to see who administers claims and what you need to register.
When coverage begins
Coverage usually starts at closing or on the date the certificate of occupancy is issued. Your warranty document is the final word on the start date. Some warranties require homeowner registration to activate coverage, so complete any required steps promptly.
Common exclusions and limits
Builder warranties cover defects, not wear and tear or damage. Knowing the common limits helps you set the right expectations and plan your maintenance.
- Normal settlement: Hairline cracks in drywall, stucco, or concrete are often considered normal and may be excluded unless they exceed stated thresholds.
- Maintenance and misuse: Damage from lack of maintenance, improper alterations, or use that goes against manufacturer instructions is typically excluded.
- Acts of nature: Storms, floods, pest damage, and vandalism are usually not covered by the builder warranty.
- Appliances and parts: Many appliances and components are covered by manufacturer warranties, not the builder. The builder may help coordinate, but the manufacturer’s terms apply.
- Cosmetic items: Surface scratches or touchups from typical use may be limited or excluded unless tied to a workmanship defect.
To keep your coverage intact, follow any required maintenance tasks noted in your warranty, such as changing HVAC filters and keeping gutters clear.
Pre-delivery inspection steps
Your pre-delivery inspection, also called the PDI or orientation, usually happens 1 to 2 weeks before closing. Plan to attend with your agent and walk the home slowly and systematically.
What to bring
- A printed checklist and a pen
- A phone or camera for photos and video with date and time stamps
- A small outlet tester or phone charger
- Blue painter’s tape to mark small finish items
How to test systems
- HVAC: Run heat and cool modes. Check airflow at vents and thermostat operation.
- Plumbing: Run hot and cold water at all faucets. Look for leaks under sinks. Flush toilets and confirm refill.
- Electrical: Test light switches. Plug into several outlets and test GFCI outlets in kitchens, baths, garage, and exterior.
- Water heater: Confirm the temperature and pressure relief valve is properly connected. Look for leaks.
- Garage: Test door openers, sensors, and weatherstripping.
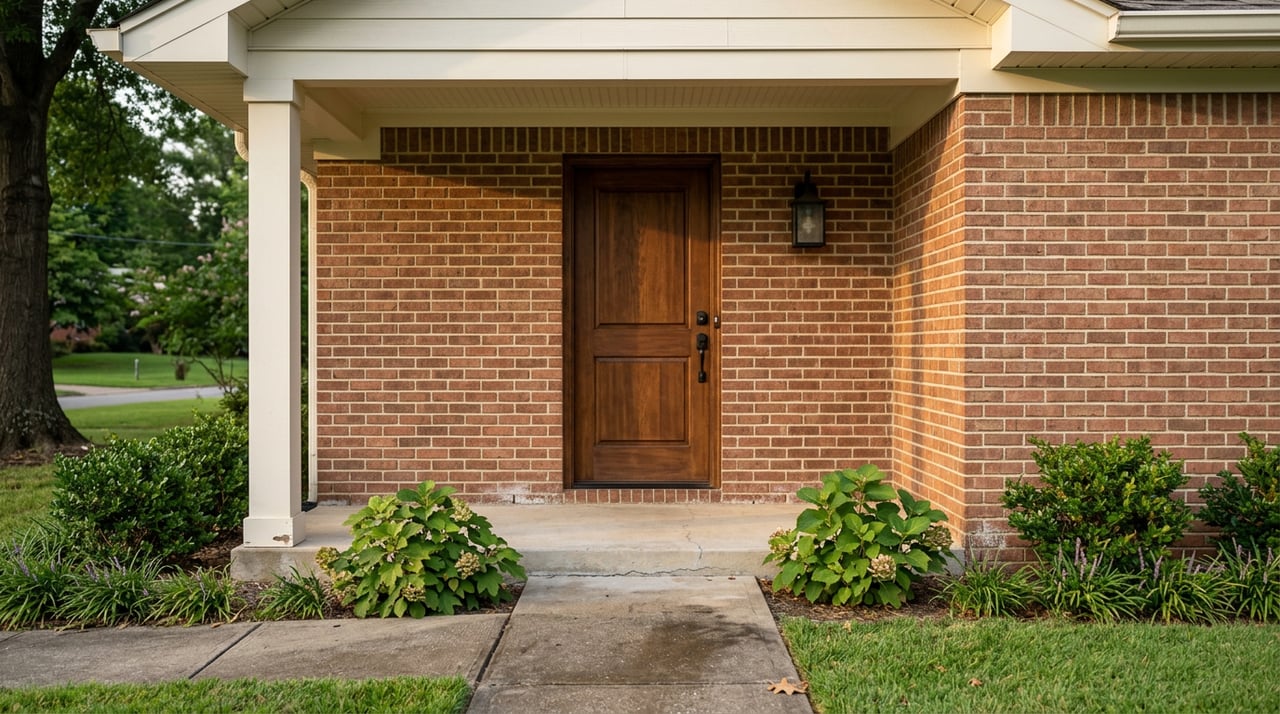
Exterior and safety checks
- Grading and drainage: Confirm water drains away from the foundation. Note any pooling areas.
- Roof and gutters: From the ground, look for loose gutters or missing downspouts. Ask about flashing at roof penetrations.
- Siding and trim: Note gaps, missing sealant, nail pops, or paint issues.
- Driveway and walks: Look for major cracks or trip hazards.
- Safety items: Confirm smoke and carbon monoxide detectors are installed and powered. Check railings and stairs for secure handrails and consistent step heights.
Mechanical spaces and documents
- Locate shutoff valves, breaker panel, and HVAC filter size and location.
- Ask for manuals, warranty cards, warranty registration instructions, and the builder’s warranty claims contact.
Punch list that gets results
The punch list is the written record of items the builder agrees to fix. Make it clear, specific, and easy to schedule.
How to write it
- Be specific: Room, location, and clear description. Example: “Kitchen, cabinet under sink, 2-inch paint chip on edge, see photo.”
- Add evidence: Attach photos and note the date.
- Separate by priority: Mark safety or active leak items as urgent.
Deliver and track
- Send the punch list by email to the builder’s designated contact. Ask for target completion dates and next steps.
- Keep copies of all emails, lists, and photos in a single folder.
- Follow up in writing if timelines slip. Re-inspect repaired items when complete.
After closing claims
Most builders use an online portal or a warranty email for post-closing items. Report problems promptly with photos and a clear description. For emergencies like active water leaks, electrical hazards, or HVAC failure in extreme weather, report them immediately and note that they are emergencies. If the builder does not respond, you can escalate to the warranty administrator or the builder’s corporate office. For unresolved structural or major issues, consult a Georgia construction attorney.
Simple email template
Subject: Warranty Item Report for [Your Address], Conyers
Hello [Builder Contact],
I am reporting the following warranty items at [address]. Please confirm receipt and advise the next available dates for inspection and repair.
- Location: [Room/Area]. Issue: [Describe clearly]. Photo attached.
- Location: [Room/Area]. Issue: [Describe clearly]. Photo attached.
Urgent items: [List any safety or active leak issues].
Thank you, [Your Name] [Phone]
How your agent helps
A knowledgeable agent makes your warranty process smoother. Here is how a hands-on approach supports you from PDI through post-closing.
Before the PDI
- Confirm the PDI date and request that systems and appliances are operational for testing.
- Provide a walk-through checklist and set expectations for the visit.
- Request the warranty documents, any registration forms, and the permit status, including the certificate of occupancy if available.
At the PDI
- Lead a systematic walk-through so every room and system is covered.
- Photograph issues and draft the punch list on site for your review.
- Point out early maintenance tasks, like HVAC filter size, appliance start-up guides, and where to shut off water.
After the PDI and closing
- Submit the finalized punch list by email and request completion dates.
- Track responses, send reminders if deadlines are missed, and re-inspect completed items.
- Collect final warranty contacts, appliance manuals, and copies of permits or the certificate of occupancy when available.
- Stay available to coordinate if new issues arise during the warranty period.
Protect warranty after closing
Your warranty works best when you keep up with routine care and documentation. These simple habits help preserve your coverage and reduce issues.
- Change HVAC filters on the manufacturer’s schedule and save receipts or logs.
- Clean gutters and confirm downspouts discharge away from the foundation.
- Maintain proper grading so water flows away from the house. Avoid planting too close to the foundation without proper drainage.
- Service HVAC equipment per the manufacturer’s recommendations.
- Keep humidity in a normal range and ventilate baths and kitchens to reduce condensation and mold risk.
- Store all warranty documents, manuals, maintenance receipts, and photos of any reported defects in a single folder, digital or physical.
Rockdale County specifics
New homes in Conyers and Rockdale County require permits and county inspections at stages like foundation, framing, mechanical rough-ins, and final. Confirm with your builder that all required inspections passed and that a final certificate of occupancy was issued before you move in. Keep copies of permits and final approvals for your records and for future resale disclosures.
Conyers sees seasonal temperature swings and heavy rains at times. Pay special attention to roof, gutters, and site drainage during your PDI and after closing. Ask your builder about any initial termite or pest treatments and whether ongoing pest plans are included or recommended.
Contractor schedules can affect repair timelines in busy seasons. When the builder gives a completion window, ask for a follow-up date to re-check items, and note it on your calendar.
Ask your builder before closing
Use this quick list to confirm key warranty details before you sign.
- Request the full written warranty document and any registration instructions.
- Confirm the warranty start date and whether it begins at closing or certificate of occupancy.
- Ask which items are covered by manufacturer warranties versus the builder warranty.
- Get the name, phone, and email for the builder’s warranty administrator or claims contact.
- Request copies of final permits and the certificate of occupancy or final inspection approval.
- Ask which maintenance tasks are required to preserve coverage and whether the builder performs any initial maintenance.
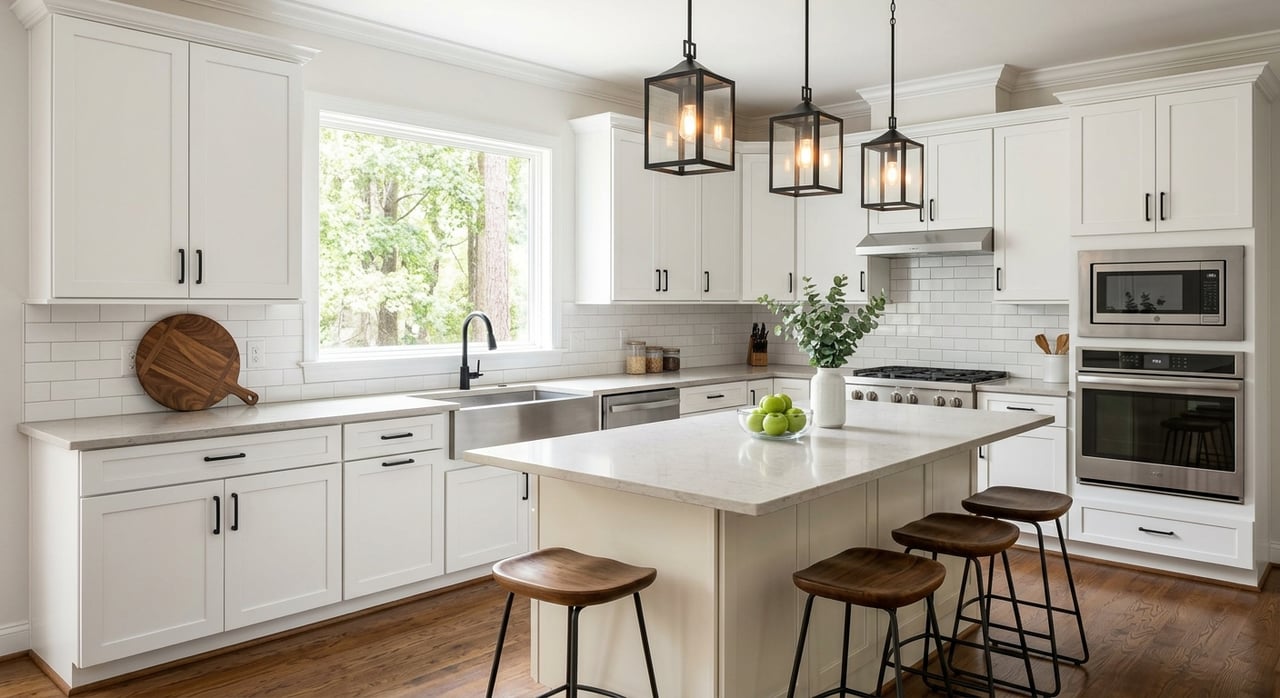
Room-by-room walk-through checklist
Bring this checklist to your PDI and final walk-through. Inspect in daylight, test systems, and photograph everything.
Exterior
- Siding, brick, or stucco: gaps, cracks, nail pops, loose trim, paint blemishes
- Roof and gutters: loose or damaged gutters, missing downspouts, visible flashing issues
- Grading and drainage: positive slope away from foundation, no pooling areas
- Driveway and sidewalks: major cracks, heaving, trip hazards
- Garage: door operation, opener, sensors, weatherstripping, service door hardware
Structure and safety
- Foundation: large cracks, separation at joints, stair-step cracks in brick
- Railings and stairs: secure handrails, even risers
- Smoke and CO detectors: installed, powered, correct locations
Roof and attic
- Attic access: insulation levels, ventilation, stains or signs of leaks
- Roof surface: missing shingles visible from ground
Windows and doors
- Operation: open, close, and lock smoothly
- Weatherstripping and thresholds: intact and sealed
- Glass and trim: no cracks, minimal gaps, neat caulk lines
HVAC and mechanical
- HVAC: heats and cools, thermostat works, airflow at vents
- Air filters: correct size and access, filters installed
- Water heater: temperature and pressure relief valve connected, no leaks
- Plumbing: hot and cold at all fixtures, no leaks under sinks, toilets flush and refill
Electrical
- Panel: labeled circuits, cover closed
- Outlets and switches: power at outlets, GFCI test in wet areas
- Lighting: all fixtures installed and operating
Kitchen and appliances
- Cabinets: alignment, hardware tight, soft-close features if included
- Countertops: chips, seams, caulking at sink
- Appliances: installed, operating, note make and model, warranty cards included
Interiors and finishes
- Walls and ceilings: nail pops, cracks, paint coverage and texture consistency
- Flooring: gaps, buckling, squeaks, finish issues
- Trim and interior doors: clean paint lines, proper alignment, smooth latching
Landscaping and exterior features
- Sod and grading: coverage, no visible erosion
- Sprinkler system: test zones if installed
- Mailbox and curb: installed and undamaged
Documents to collect
- Builder warranty documents and any registration instructions
- Appliance manuals and manufacturer warranty cards
- Copies of permits and the certificate of occupancy or final inspection
- Builder warranty contact and standard repair timelines
Final thoughts
A new build in Conyers should come with confidence. When you understand the 1-2-10 structure, document your PDI carefully, and keep up with simple maintenance, you put your warranty to work for you. If you want a steady hand to coordinate walk-throughs, punch lists, and post-closing follow-up, reach out to Tiffany Biggins for buyer-focused guidance.
FAQs
What does a 1-2-10 builder warranty cover in Conyers?
- Year 1 covers workmanship and materials, year 2 covers major systems like HVAC, plumbing, and electrical, and year 10 covers substantial structural defects.
When does my new-home warranty start in Rockdale County?
- Coverage typically starts at closing or on the certificate of occupancy date, depending on your warranty document; check your contract to confirm.
Are appliances in my Conyers new build covered by the builder?
- Usually appliances are covered by manufacturer warranties, while the builder handles installation defects and the home’s systems under the builder warranty.
What issues are not covered by builder warranties?
- Normal settlement hairline cracks, wear and tear, lack of maintenance, homeowner alterations, acts of nature, and many cosmetic touchups are commonly excluded.
How do I report warranty items after closing?
- Use the builder’s warranty portal or email, describe each item with location and photos, mark emergencies, and keep copies of all communications.
Can my agent help with punch lists and repairs?
- Yes, your agent can schedule and attend the PDI, document issues, submit the punch list, track timelines, re-inspect repairs, and help you organize warranty documents.